How We Planned Stella’s Electrical System
Building a camper van electrical system felt intimidating at first. We knew what we wanted to be able to power, but figuring out how solar,
12-volt equipment, household-style appliances, wiring, ventilation, and the physical layout of the van would all work together took planning.
Stella is our 2020 Ram ProMaster conversion, and one of the biggest lessons from the build
was that the electrical system cannot really be planned in isolation. Decisions about the roof, cabinets, appliances, ventilation, lighting, and even where you want to charge your phone all affect the electrical plan.
Here’s how we approached ours, what we used, and what we learned along the way.
Stella Build Snapshot
Van: 2020 Ram ProMaster
Power: Portable power-station setup rather than a traditional hardwired
house-battery systemSolar: 200 watts of rooftop solar
Ventilation: Two MaxxAir roof fans
Electrical Approach: Designed around simple, serviceable wiring with room
for upgradesBiggest Lesson: Plan your electrical system, roof layout, and future
power needs together before closing
up the walls.
Start With What You Actually Want to Power
Before deciding where wires would run, we made a list of what we expected to use in the van.
Our electrical needs included:
24-inch LED television — 120V AC
Four slat lights — 12V DC
Four puck lights — 12V DC
Two MaxxAir fans — 12V DC
Induction burner — 120V AC
Wi-Fi router — 5V DC
Microwave — 120V AC
ICECO JP50 51-quart refrigerator
Looking at the appliances first helped separate the system into two basic categories: equipment that could operate directly from DC power and equipment that needed AC power.
For a first-time van builder, that distinction is important because every item does not need to be powered the same way.
Our Power Setup
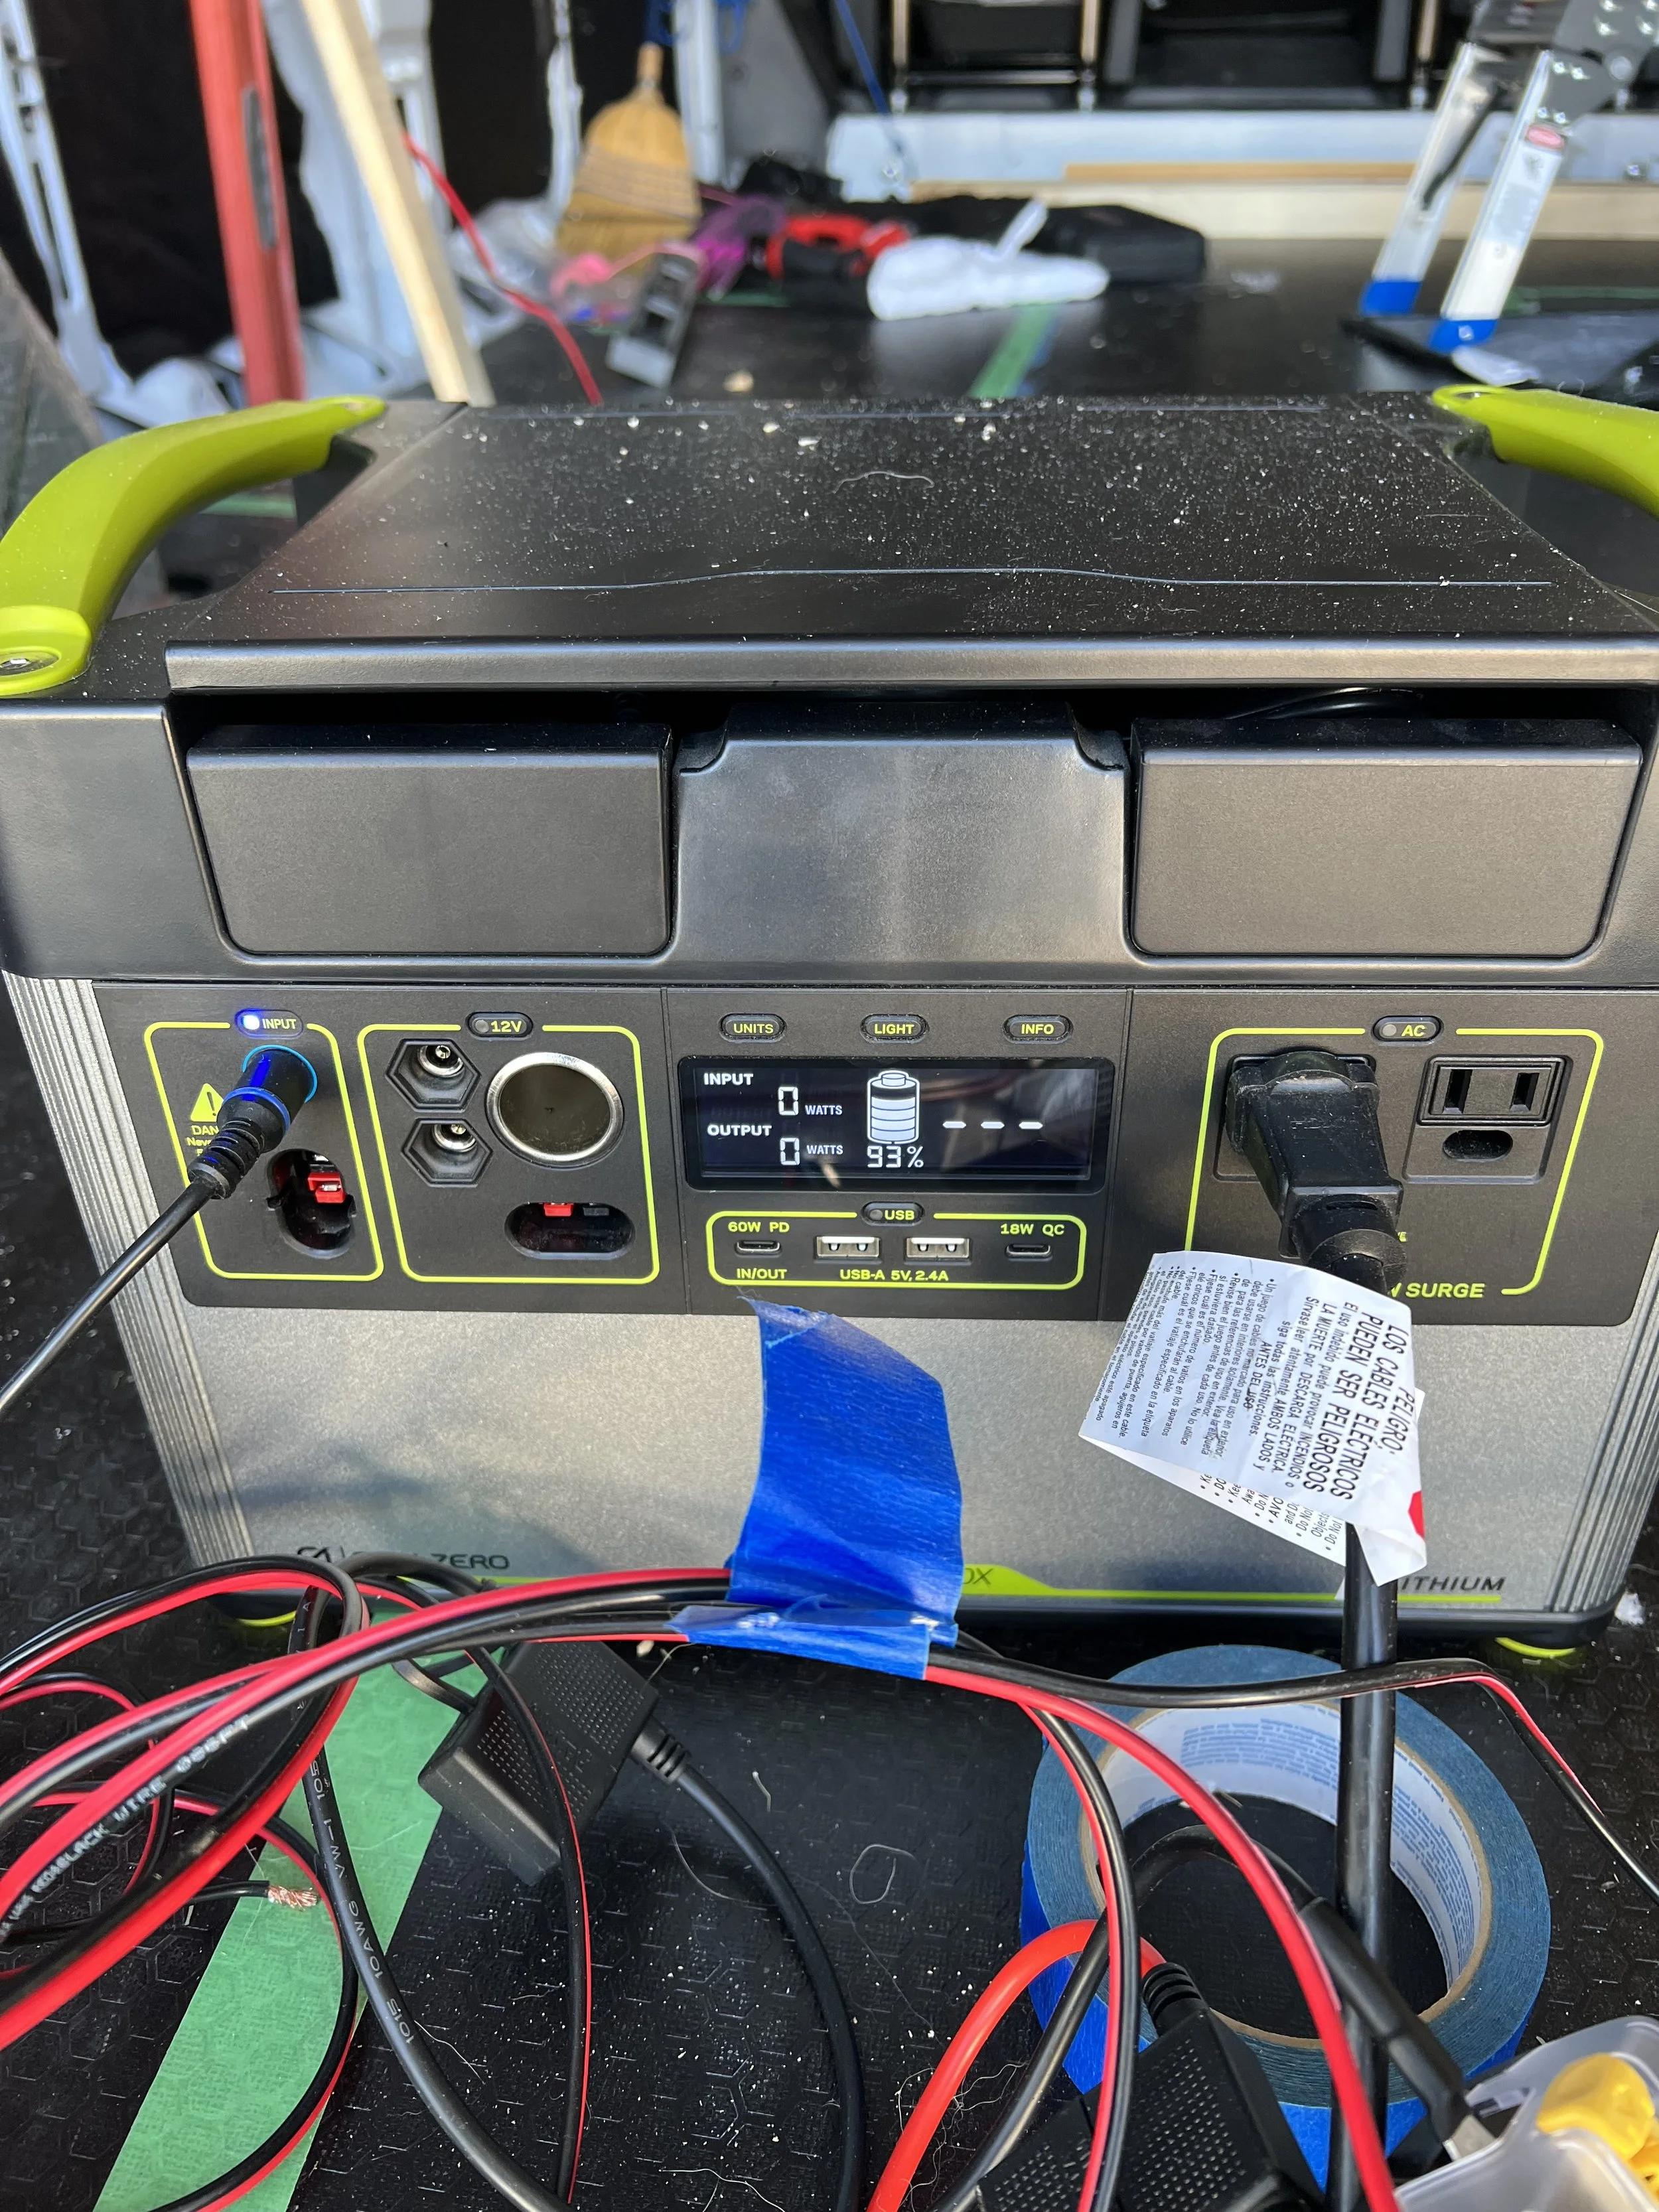
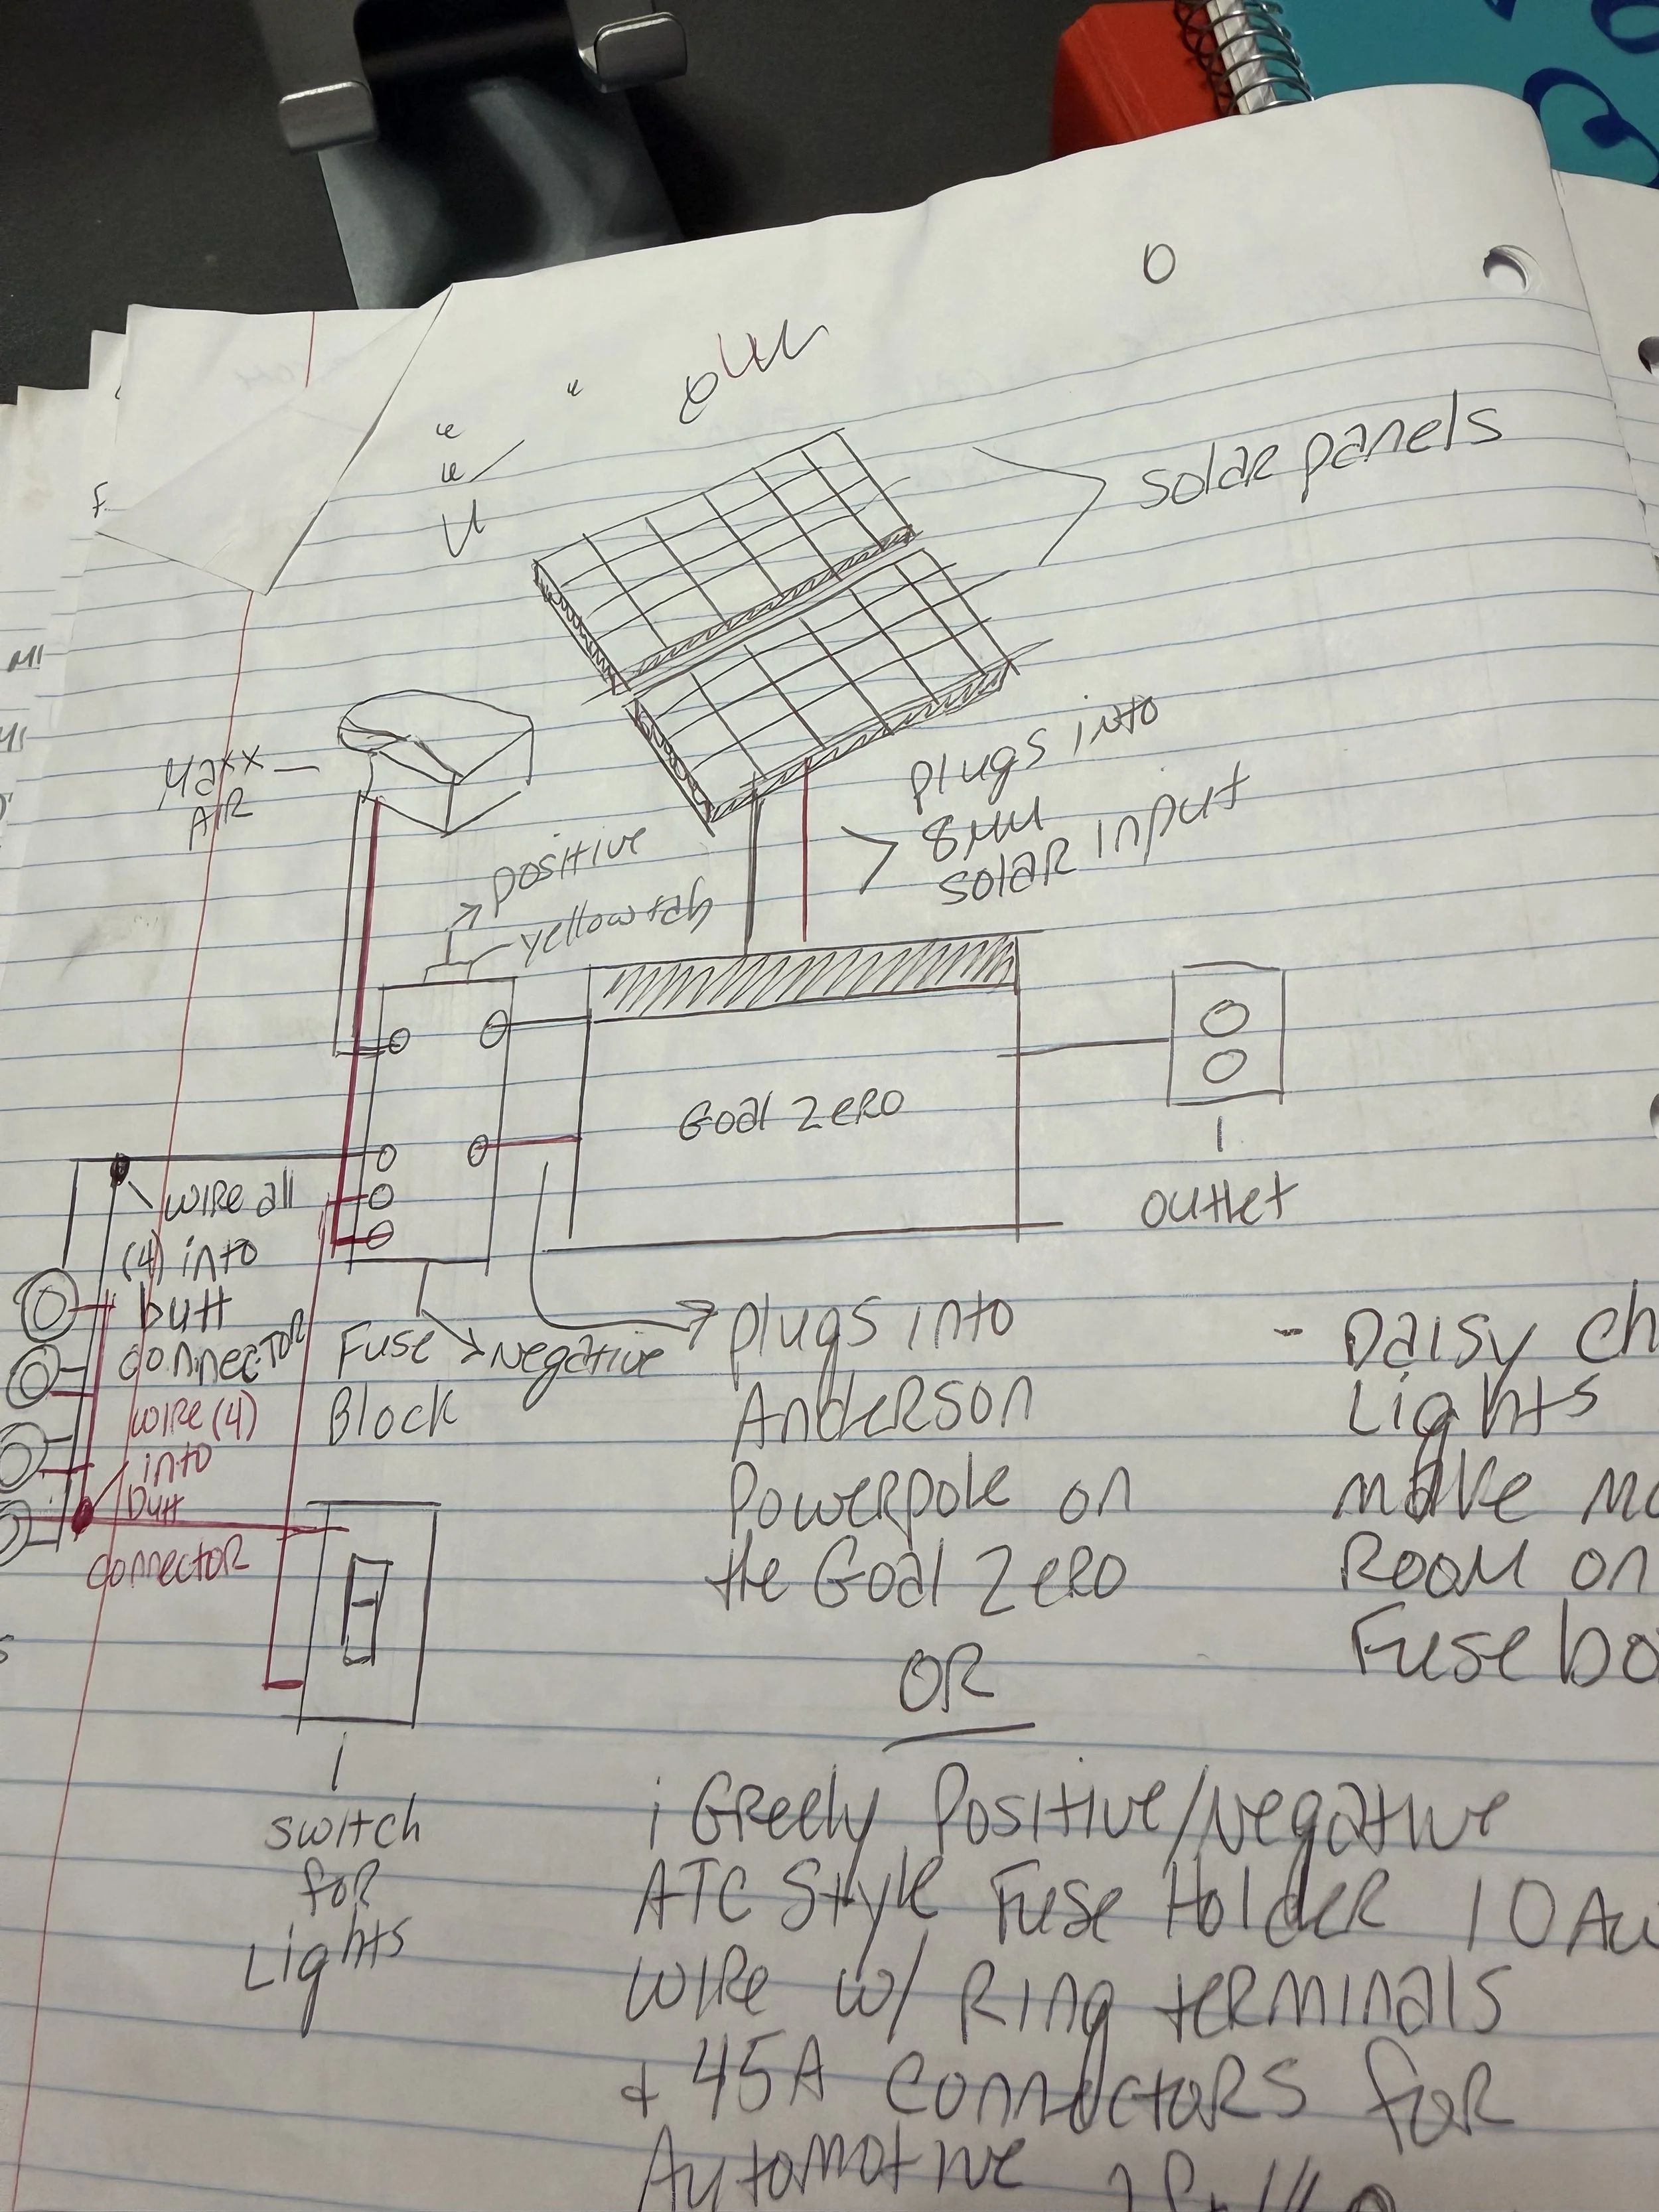
Our original build centered around a Goal Zero Yeti 1500 portable power station rather than a completely custom-built battery bank.
That approach appealed to us because it combined several parts of an electrical system into one portable unit rather than requiring us to design every component separately.
For solar charging, we installed:
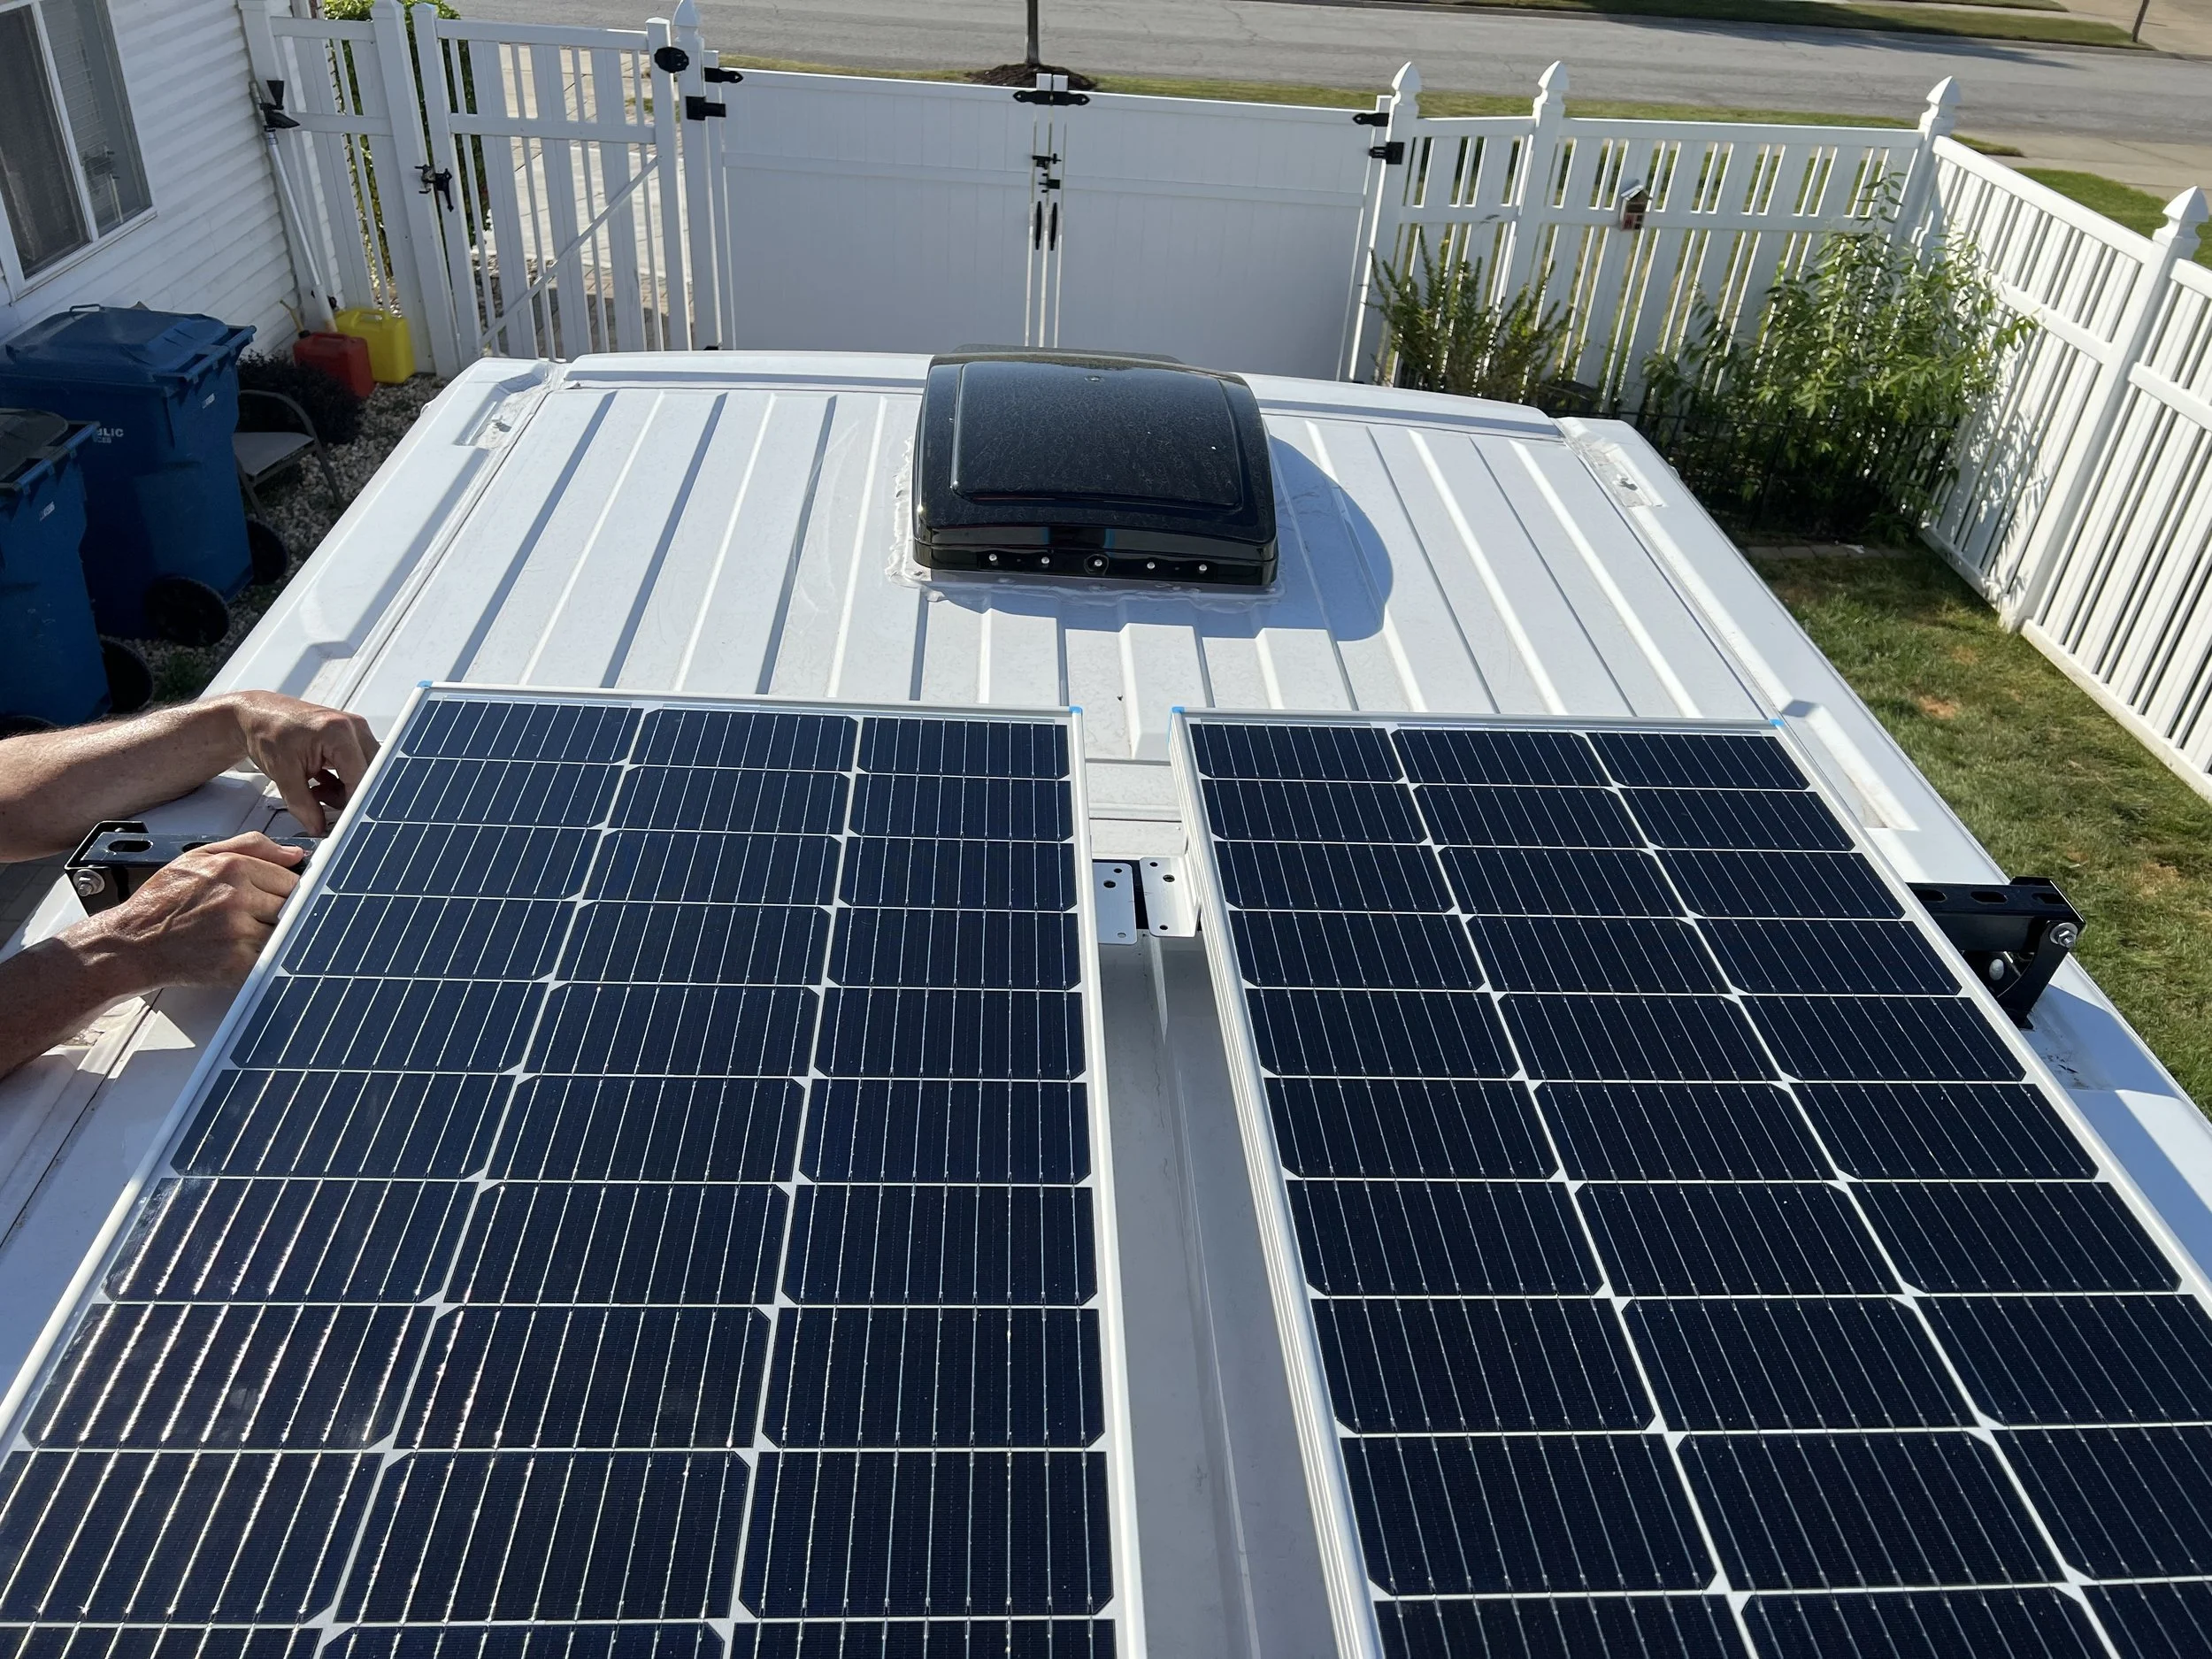
2 Renogy 100-watt solar panels
for a total of:
200 watts of rooftop solar
The panels were mounted to a roof-rack structure using UniStrut components.
Solar panels installed on Stella’s roof
Our original rooftop solar setup used two 100-watt Renogy panels mounted alongside the roof ventilation system.
Plan the Roof Before You Install Anything
This is one of the biggest lessons from our build.
We installed two MaxxAir 7000K Deluxe roof fans because ventilation was a priority.
At the time, we were not planning around air conditioning, so we did not fully anticipate how valuable every inch of roof space might become later.
Once you account for:
two roof fans
solar panels
roof-rack components
cable entry
possible antennas
and future equipment
Roof space disappears surprisingly quickly.
Electrical Planning Affects the Interior Layout Too
The same thing applies inside the van.
Before closing up walls and ceilings, think through where you will want:
light switches
USB charging ports
outlets
reading lights
appliance connections
refrigerator power
fan controls
television power
future accessories
We also learned how important it is to think about accessibility.
Electrical equipment shouldn't simply fit somewhere. You should be able to reach it later if something needs to be inspected, replaced, reset, or upgraded.
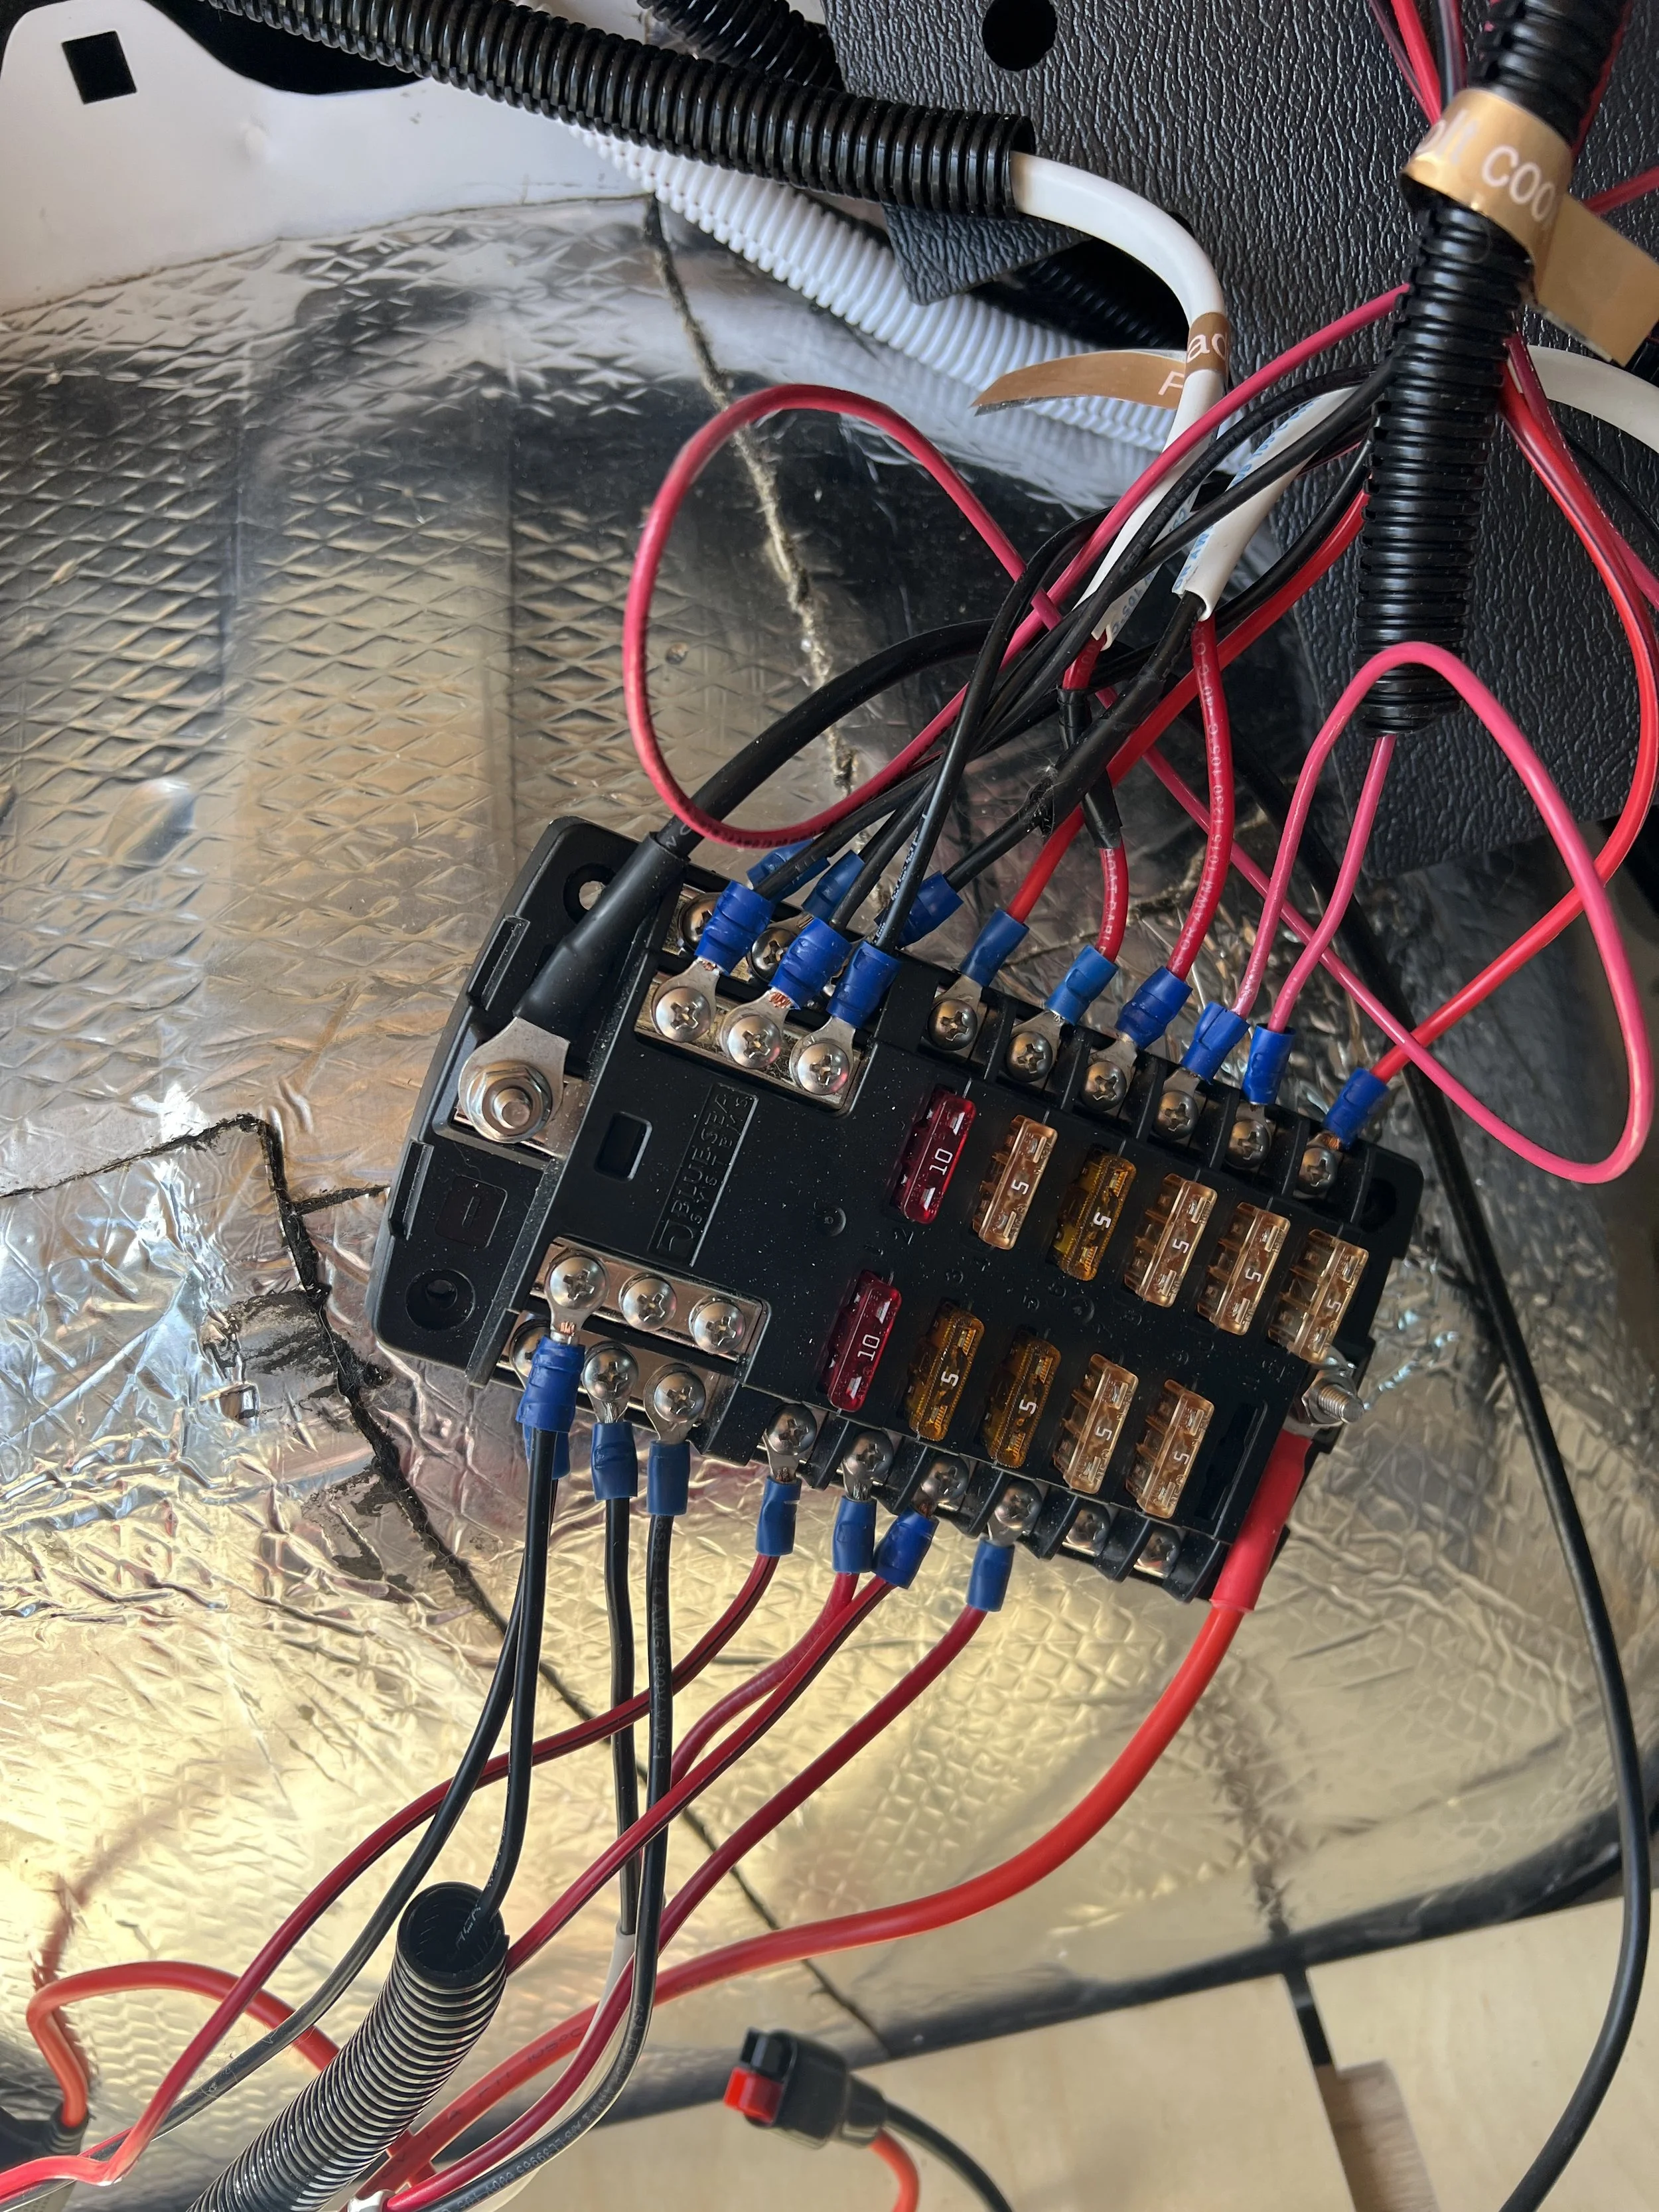
Electrical compartment / power station location
We planned the electrical area around both usability and future access.
Run More Wire Than You Think You'll Need
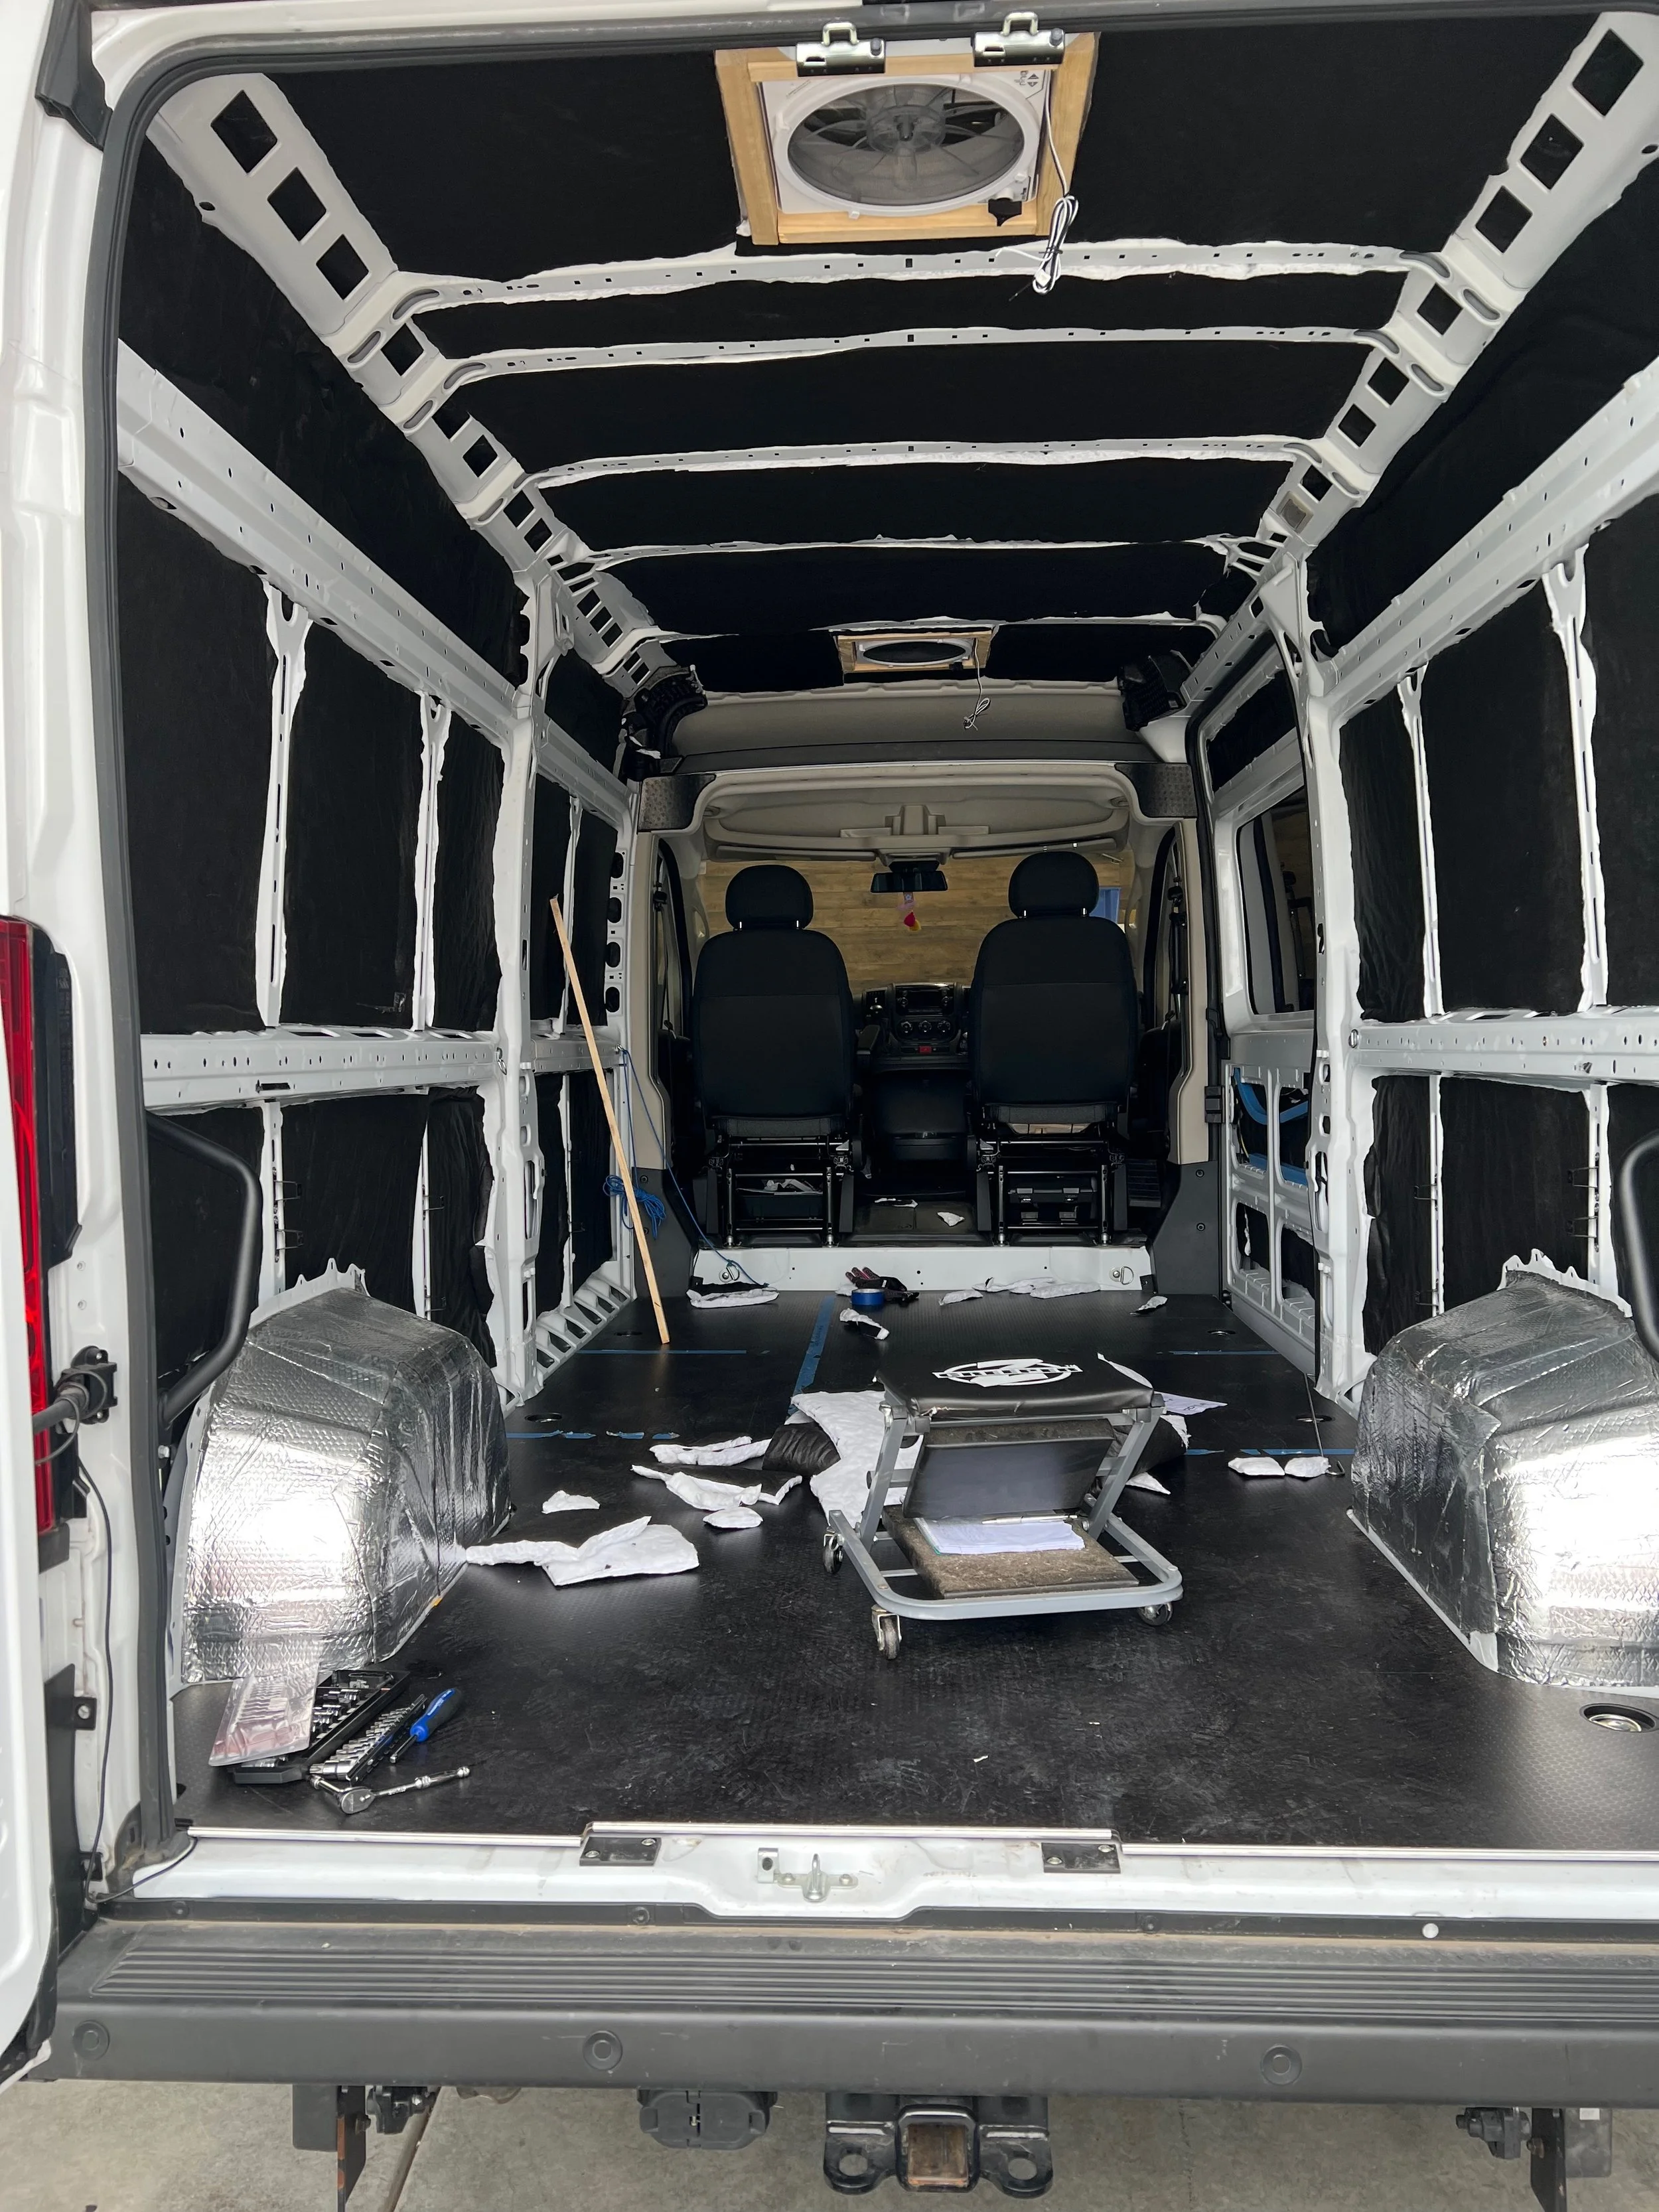
One of the easiest opportunities to lose during a van build is access.
Before insulation, wall panels, ceilings, cabinets, and finished trim go in, running another wire is relatively easy.
After everything is finished?
Not so much.
Our advice is to think beyond what you're installing today.
If there is even a reasonable chance you might someday want power for another light, USB outlet, fan, accessory, camera, or other device, consider running the wiring while the walls are still open.
And label it.
Actually, label both ends.
Future-you will be very grateful.
Test Before You Close Everything Up
Another lesson that applies to almost every part of a van build:
Don't permanently cover something until you've tested it.
Before installing final trim or closing access points, verify that:
lights work
switches work
fans operate correctly
outlets have power
appliances operate as expected
charging works
wiring is accessible where you expect it
to be
Finding a problem while the wiring is exposed is inconvenient.
Finding it after the finished wall is installed is considerably worse.
What Worked Well for Us
The portable-power-station approach gave us a relatively straightforward way to power Stella without starting with a highly complex custom battery system.
Our 200-watt rooftop solar setup also provided charging capability without requiring us to depend entirely on campground hookups.
Most importantly, separating the van's electrical needs into 12V and 120V loads helped us understand what each piece of equipment actually required.
We weren't trying to build the most sophisticated electrical system possible.
We were trying to build one that made sense for how we planned to use the van.
That's an important distinction.
What We'd Do Differently
If we were starting Stella again, we'd spend even more time planning the electrical system alongside the rest of the van.
Our biggest takeaways:
Plan the roof and electrical systems together.
Fans, solar panels, racks, antennas, and future air conditioning all compete for the same space.
Keep electrical components accessible
Anything that can trip, fail, or need replacement should be easy to reach without removing finished cabinetry or wall panels.
Plan for future upgrades before finishing
the walls
Running extra wire during construction is much easier than adding it later. Pre-wire for future lights, outlets, accessories, and cameras while the walls are open.
Test every system before closing things up
We would verify lights, outlets, fans, charging, appliances, and wiring access before
installing final trim or permanently covering electrical components.
Label everything — especially both ends of
every wire
Future troubleshooting is much easier when every circuit is clearly identified.
The biggest lesson:
Don’t design only for what you own today. Plan for what you may want two or three years from now.
Products We Used
As an Amazon Associate, I earn from qualifying purchases.
The Biggest Lesson
Your electrical system isn't really just an electrical project.
It touches almost every other decision in the van.
Roof layout. Cabinet placement. Appliances. Lighting. Ventilation. Storage. Future upgrades.
Planning those systems together at the beginning can save a lot of frustration later.
And if you're building your first van, don't feel like you need to create the most complicated system possible.
Build the system that supports the way you actually plan to travel.
Related Stella Build Resources
What We'd Do Differently If We Built Stella Again →
Camper Van Storage: What Worked for Us →
Installing Two MaxxAir Fans: What We Learned About Roof Layout →
Explore All Stella Build Resources →
Renogy 100W Solar Panels
Used in Stella’s original 200-watt rooftop
solar setup.
MaxxAir 7000K Deluxe Roof Fans
We installed two to improve airflow and ventilation throughout the van.
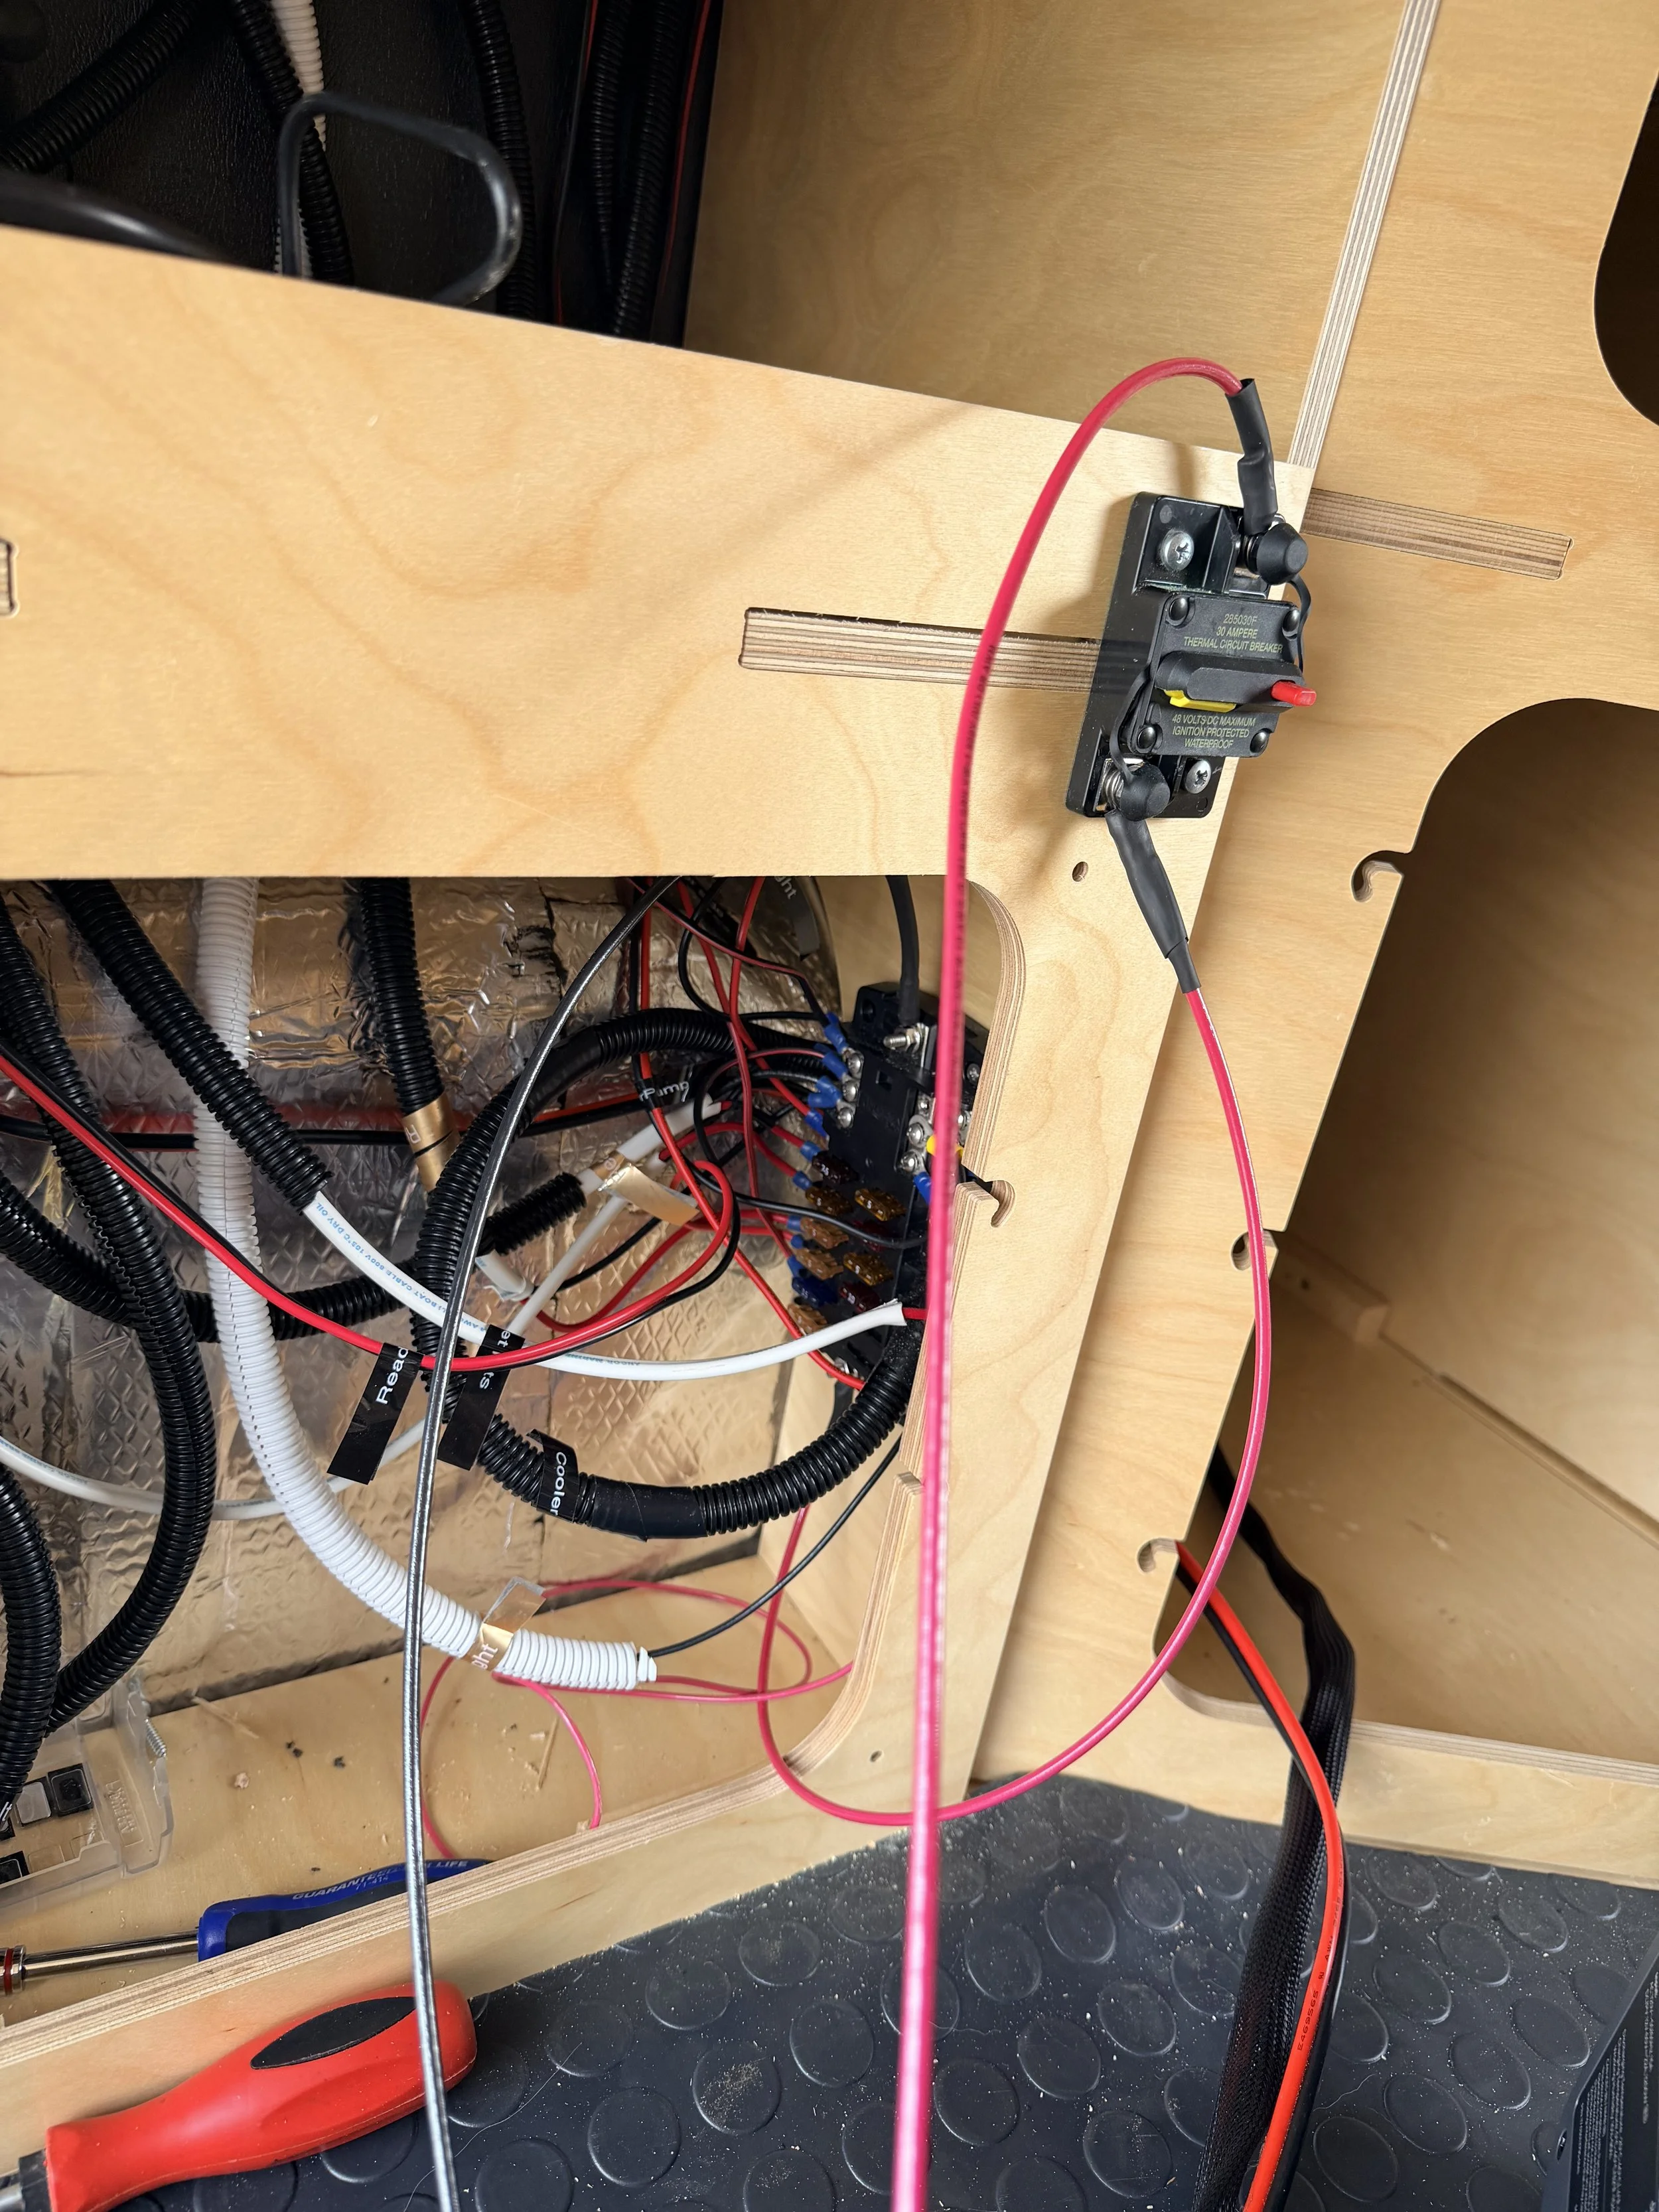
Electrical Components & Wiring
Fuses, breakers, wire, connectors, and distribution components used throughout
the build.
Goal Zero Yeti 1500
Our original portable power station and the heart of Stella’s first electrical setup.
Real build photos.